When the Panels Run a Fever: A Thermal Inspection Loop for UK Solar Farms
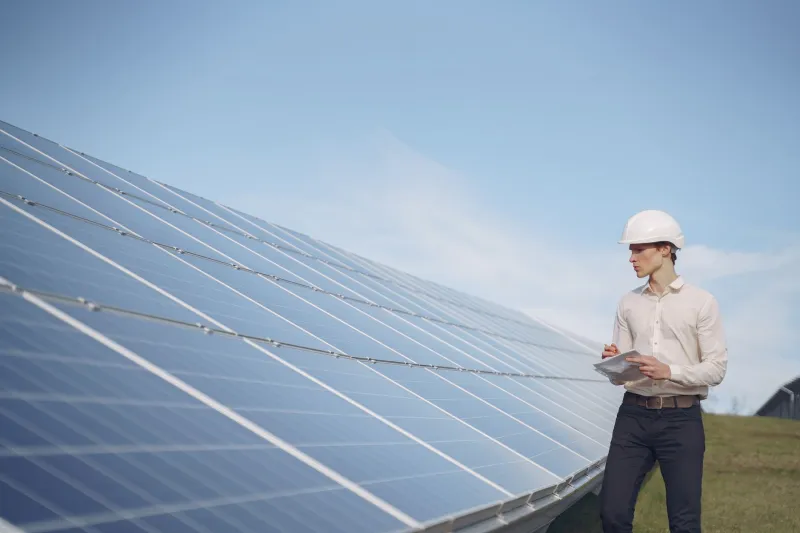
Thermal solar work has a habit of looking easier than it is. You turn up, fly a grid over a field of panels, come back with a memory card full of orange-and-purple images, and everyone nods sagely. Then the operations and maintenance team asks which string the warm module belongs to, what the temperature difference was, and whether the site can be re-inspected the same way next winter. That is where a nice thermal flight becomes a proper inspection service — or does not.
The UK angle matters more than most guides admit. Low winter sun, short daylight windows, wet ground, sheep with no respect for flight plans and a mix of landlord and tenant access all shape the job. So does the CAA side: this is still drone flying under UK rules, not a magic exemption because the payload happens to be a thermal camera. If you want repeatable, billable solar inspection work in 2026, build the loop properly.
Pick a payload that earns its keep
A radiometric thermal camera is the starting point. Pretty heat pictures are not enough; you need temperature data you can interrogate later. A 640 x 512 radiometric sensor is the comfortable commercial baseline for panel-level work, with 320 x 240 usable on smaller sites if you fly lower and accept a narrower field of view. The lens matters as much as the pixel count: a wider lens covers more rows per pass but gives you fewer pixels per module. On a large solar farm, that trade-off decides your flight time and your report quality.
Check the camera's temperature range and accuracy before quoting. A ±2°C or ±2% spec is common enough, but it only means something if you record emissivity, reflected temperature, ambient conditions and distance consistently. Save radiometric files, not just exported JPEGs. If the client later wants to revisit a hot module, you want the raw data.
Pair the thermal sensor with a decent visual camera. A normal RGB image of the same module is often what convinces a site technician that the warm blob is real and not a reflection. A drone that handles wind steadily is worth more than one with a fancy spec sheet, especially on exposed UK sites where the best thermal window often comes with a stiff breeze.
Plan around the sun, not just the wind
Solar thermal inspection is a daylight job with a weather problem. You want stable irradiance, clear skies and enough output to make anomalies stand out. Around midday is usually the safest bet, but in a British winter that window can be short and the sun can sit low enough to throw long shadows across rows. Glare is less of a problem for thermal than for RGB, but low sun still affects how evenly the array heats up. Wet panels cool by evaporation, so a shower before take-off can flatten the very temperature differences you are trying to capture. Give the site time to settle.
Fly a consistent pattern. Perpendicular passes across rows, fixed altitude, fixed speed and enough overlap to match modules between images. Do not freestyle the mission because the first row looked interesting. The value of the survey comes from comparing like with like, and that means the same geometry every time. Record the flight altitude, camera angle, ambient temperature, wind speed and estimated irradiance in your notes. If the client asks why a module looked different in December compared with June, you will want that context.
Before any of that, do the boring airspace and access work. Check the site location against controlled airspace, flight restriction zones and local hazards. Keep the aircraft within visual line of sight, respect the 120 m limit and do not overfly people or busy access routes. Solar farms often sit near grid infrastructure, substations and overhead lines, so build those into the risk assessment rather than discovering them on the day. Land access needs the landowner and usually the tenant or site operator. A gate code is not permission. Ask about livestock, spraying, maintenance crews and any no-go zones around electrical equipment.
Capture anomalies that a maintenance team can act on
A thermal image without an asset reference is a curiosity. A thermal image tied to a row, string and module number is a work order. Build a simple naming convention before the flight and stick to it. Every capture should have a visual reference, a thermal reference, a location and a severity note. Where possible, include a normal module nearby as a baseline so the temperature difference is obvious.
Think in terms of delta T rather than absolute temperature. A module running a few degrees warmer than its neighbours might be worth a second look; a clear hotspot with a sharp edge is a different conversation. Record what you can see — hotspot, bypass diode pattern, string-level irregularity, soiling, physical damage — but do not diagnose from thermal alone. Thermal is a screening tool. The follow-up might need an electrician, an IV curve trace or an electroluminescence check. Say that in the report and you protect both the client and your own credibility.
Keep a simple severity structure: advisory for monitoring, investigate for a nearer-term visit, urgent for anything that looks like a safety or yield risk. Avoid over-egging it. If every other module is marked urgent, the O&M team will stop reading.
The report the O&M desk actually opens
Start with a one-page summary: site name, date, conditions, coverage, headline findings and recommended next actions. Then give the detail. A table with asset ID, location, anomaly type, delta T, severity and recommended action will do more than twenty pages of thermal screenshots. Add the RGB and thermal image pair for each flagged module, and include a site map showing where the passes took place. If you are working to a recognised method such as IEC TS 62446-3, say how you applied it, but do not claim compliance you cannot evidence.
Deliver a PDF for the manager and a CSV for the spreadsheet people. Use a clear folder structure and a file-naming convention that survives being forwarded three times. State the limitations: what was covered, what was not, what the weather did, and what the thermal survey cannot prove. That honesty makes the next inspection easier to sell.
Keep the loop repeatable
Commercial solar thermal work is not really a one-off flight. It is a repeatable inspection product: same method, same data structure, same report format, same access routine. Price it per site visit or per MW, agree a sensible re-inspection interval, and keep your calibration and permission paperwork in order. The UK weather will always interfere. The CAA rules will always apply. The landowner will always have a gate that needs closing. Build those realities into the workflow and the thermal camera stops being a gadget and starts being a service line.